The Garden Post
Repotting Houseplants
18
Sep
Sep
Repotting a plant for the first time can seem a little daunting, but it’s actually extremely easy. Use our easy-to-follow guide to become a houseplant pro!
- Select a container to repot your plant into. Ideally, you should select one that is no more than 1-2 inches wider and deeper than the current container.
- Select your potting medium. All-Purpose soils are a good choice for most plants but specialty soils for Orchids, African Violets, Bonsai, Cacti and Succulents are the preferred choice for those plants.
- Add soil to the bottom 25% of your new container.
- If your container lacks drainage holes, add a 1-2 inch layer of pebbles or marbles (to act as drainage) to the bottom of the container, then top with soil.
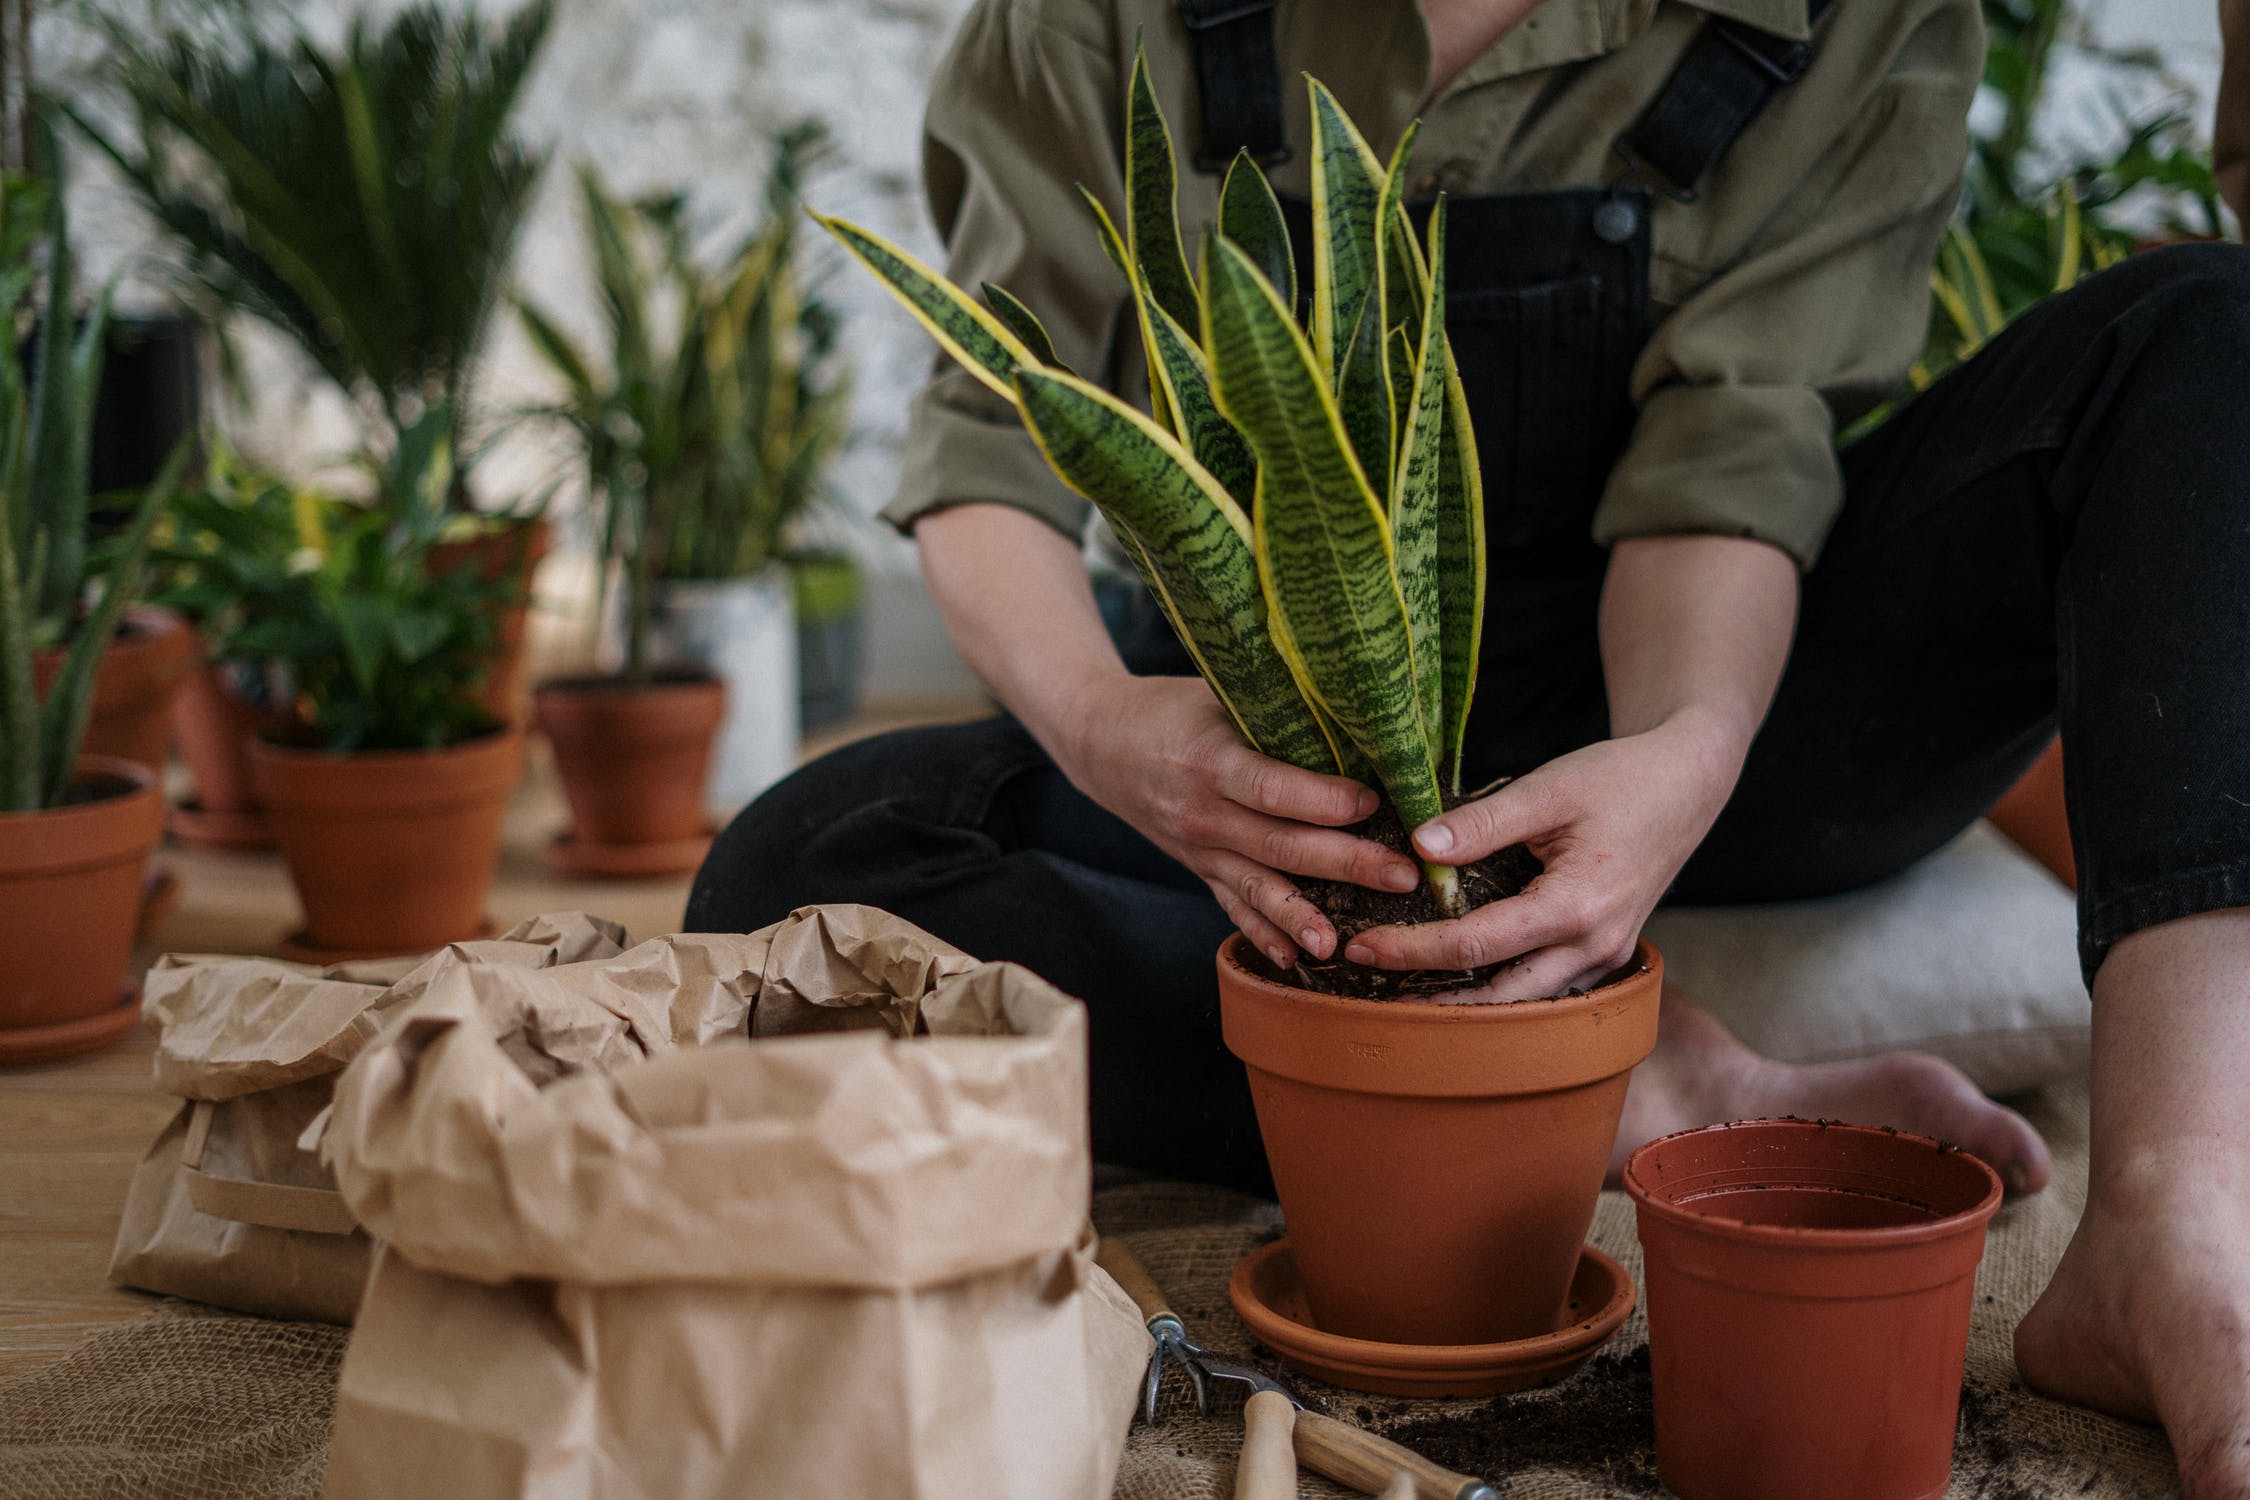
- Gently cradle or hold your plant then flip it’s current container upside down. Be careful not to drop your plant on the ground.
- If the current container is plastic, squeeze the sides until the roots and soil come free.
- For containers made of other materials, gently shake the container until the roots and soil come free. You can also pull gently on the plant if it’s not sliding free easily.
- Massage away as much soil from the roots as you can. If the roots are tangled, do your best to gently untangle them.
- Set your plant into the new container. Make sure that the base of the plant is not sitting too low or too high.
- A plant is sitting too low if there is more than 1-2 inches between the base of the plant and the top of the container. If the plant is sitting too low, remove the plant and add some soil to the container until the plant’s base is approximately 1-2 inches below the container’s rim.
- A plant is sitting too high if the base of the plant’s base is above the container’s rim. If the plant is sitting too high, remove the plant and remove some soil from the container until the plant’s base is approximately 1-2 inches below the container’s rim.
- Once you have your plant situated correctly, fill in the gaps around your plant with more soil, lightly pressing down as you go. Do not fill soil flush with the top of the container, leave a gap of about 1 inch to prevent overflow when watering.
- Thoroughly water the plant. As the soil settles, you may need to add some more. Make sure you maintain the gap between the soil and the rim.
Here are a few additional tips to make repotting even easier!
- Repot plants right before you would normally water them. Not only is dryer soil easier (and less mucky) to deal with, but you’ll be watering once you finish repotting the plant.
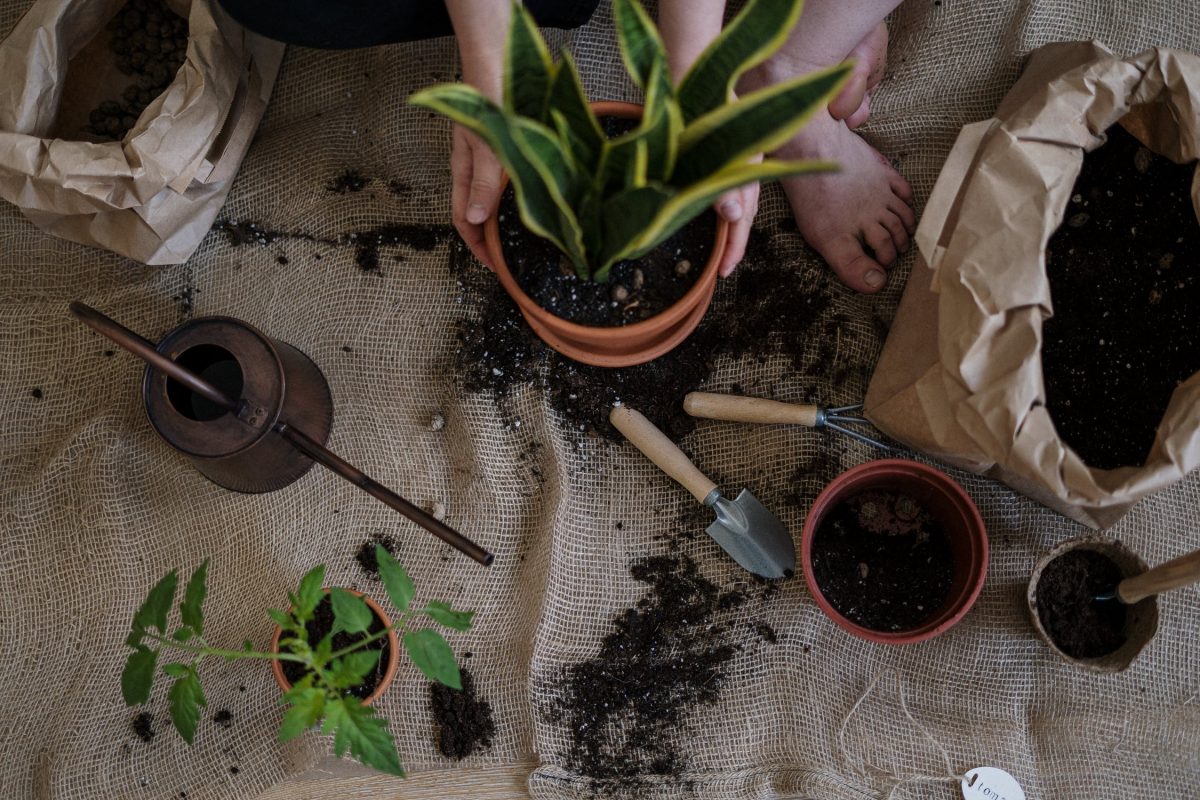
- The best tools for repotting are a pair of gloves, a trowel, a spoon (for smaller containers) and a thin stick (like a dowel or a chopstick) to push soil into areas your fingers can’t fit.
- Repotting can be messy, whenever possible and if the weather’s warm enough repot outside. If that’s not possible, line your repotting space with a garbage bag to catch loose dirt.
- Most plants don’t need to be repotted more than once every 2-3 years. Repotting too frequently can lead to stress and watering issues.
- Repotting a plant into a larger container will decrease how often you need to water so, until you have an established a new watering schedule, be sure to check if your plant needs water before watering them.
- Spring is the best time to repot houseplants. Even though houseplants are grown indoors, they experience a form of dormancy where they aren’t growing or taking up nutrients. In spring, houseplants wake up from this dormancy and are more receptive to being repotted and acclimate faster to their new homes.