The Garden Post
How To Start Seeds
Feb
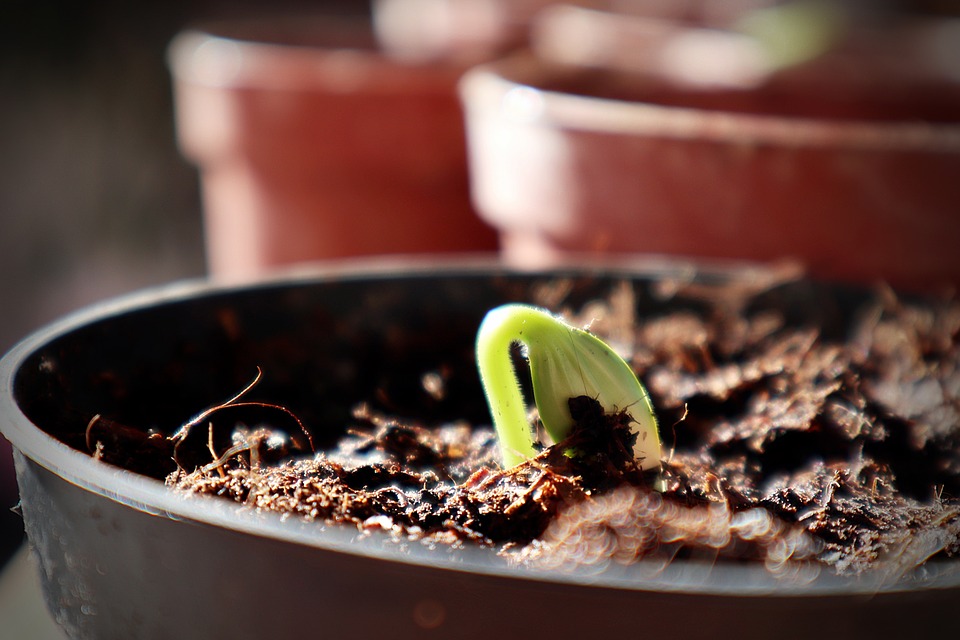
Starting seeds is one of the easiest, and most inexpensive, methods of growing plants. It’s also a fun way to teach children about the life of a plant, and maybe even inspire a love of gardening along the way. Here are some tips to help you get started!
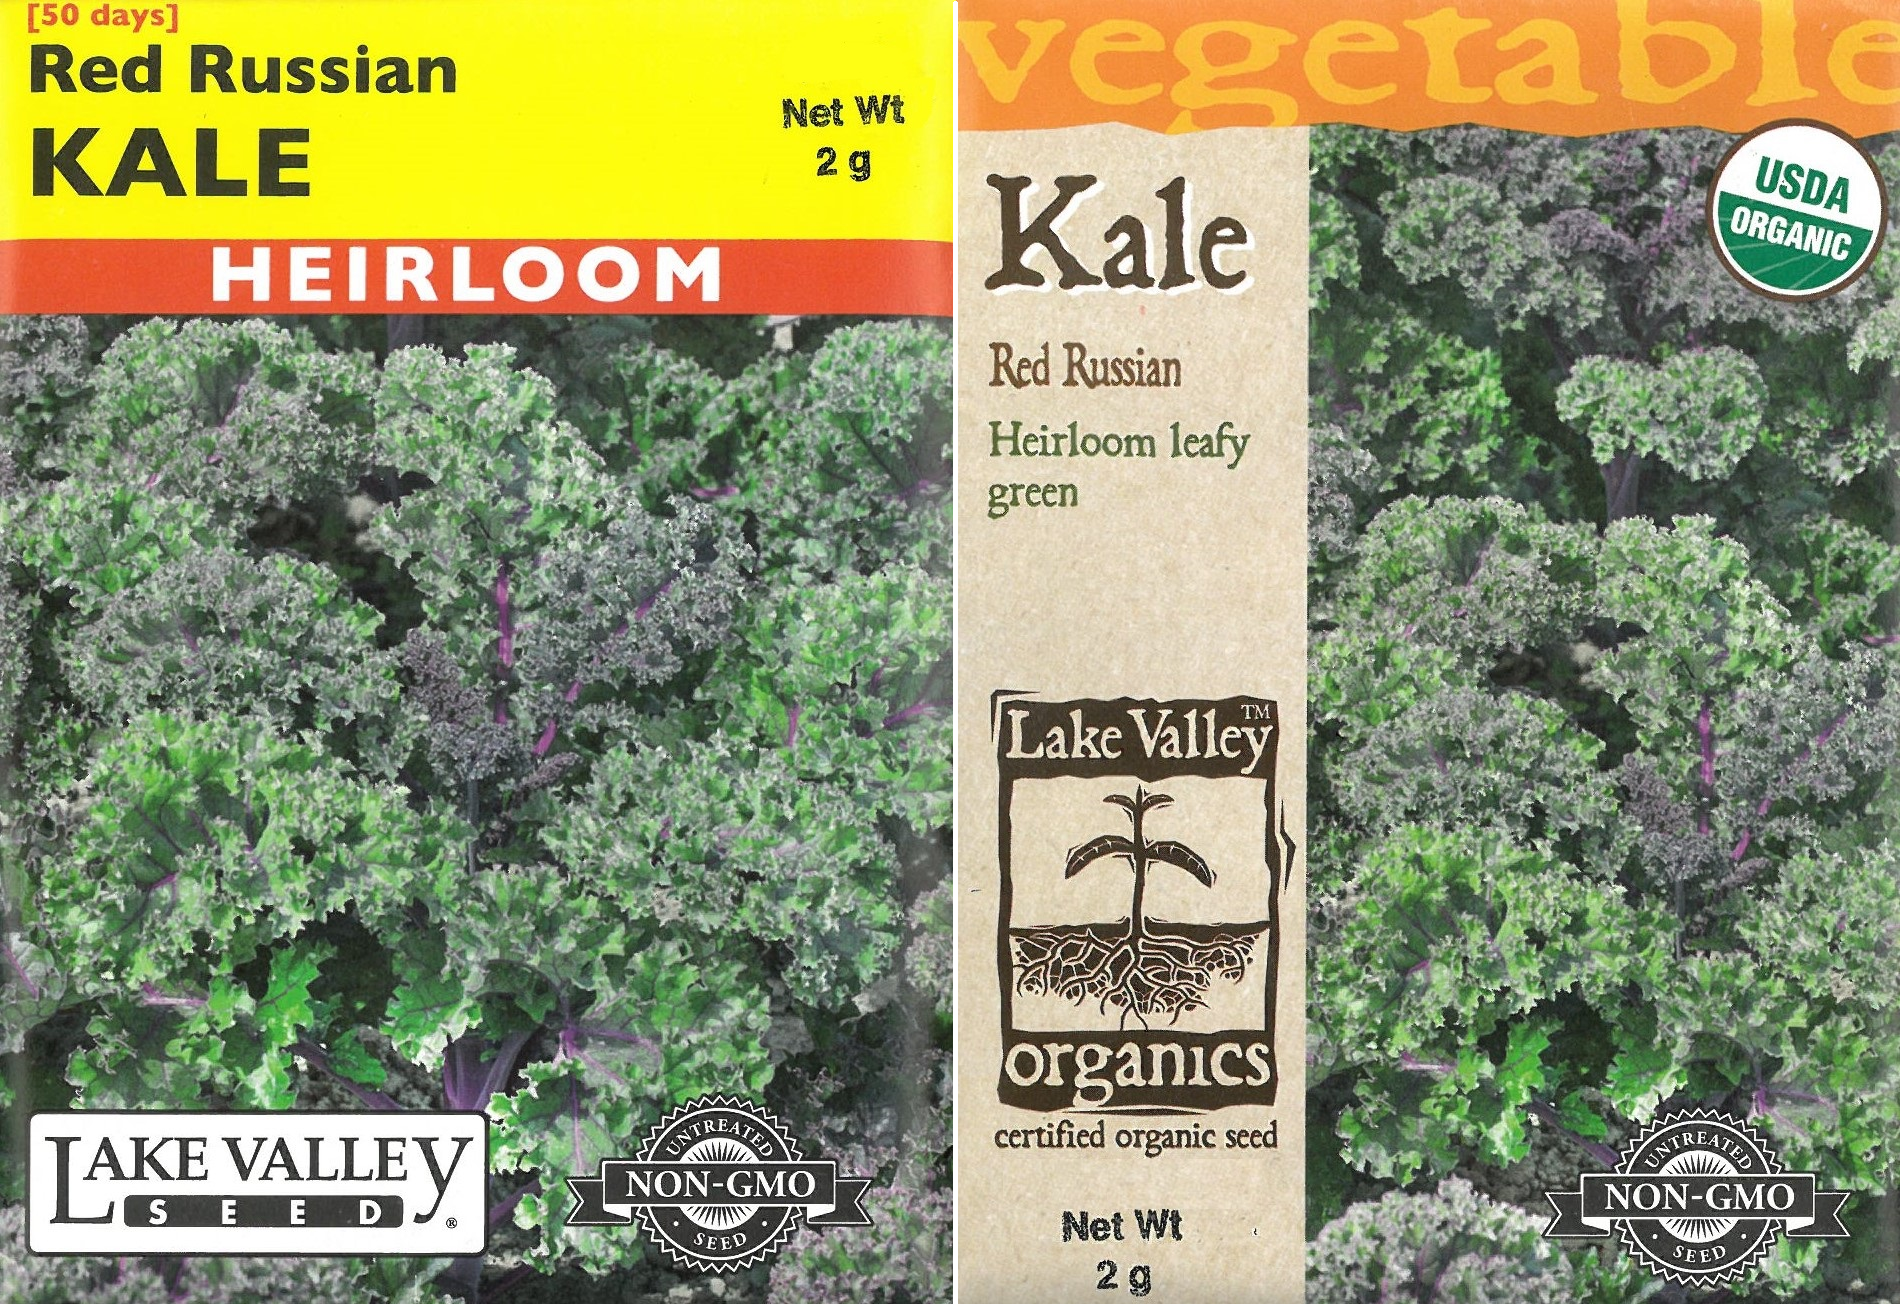
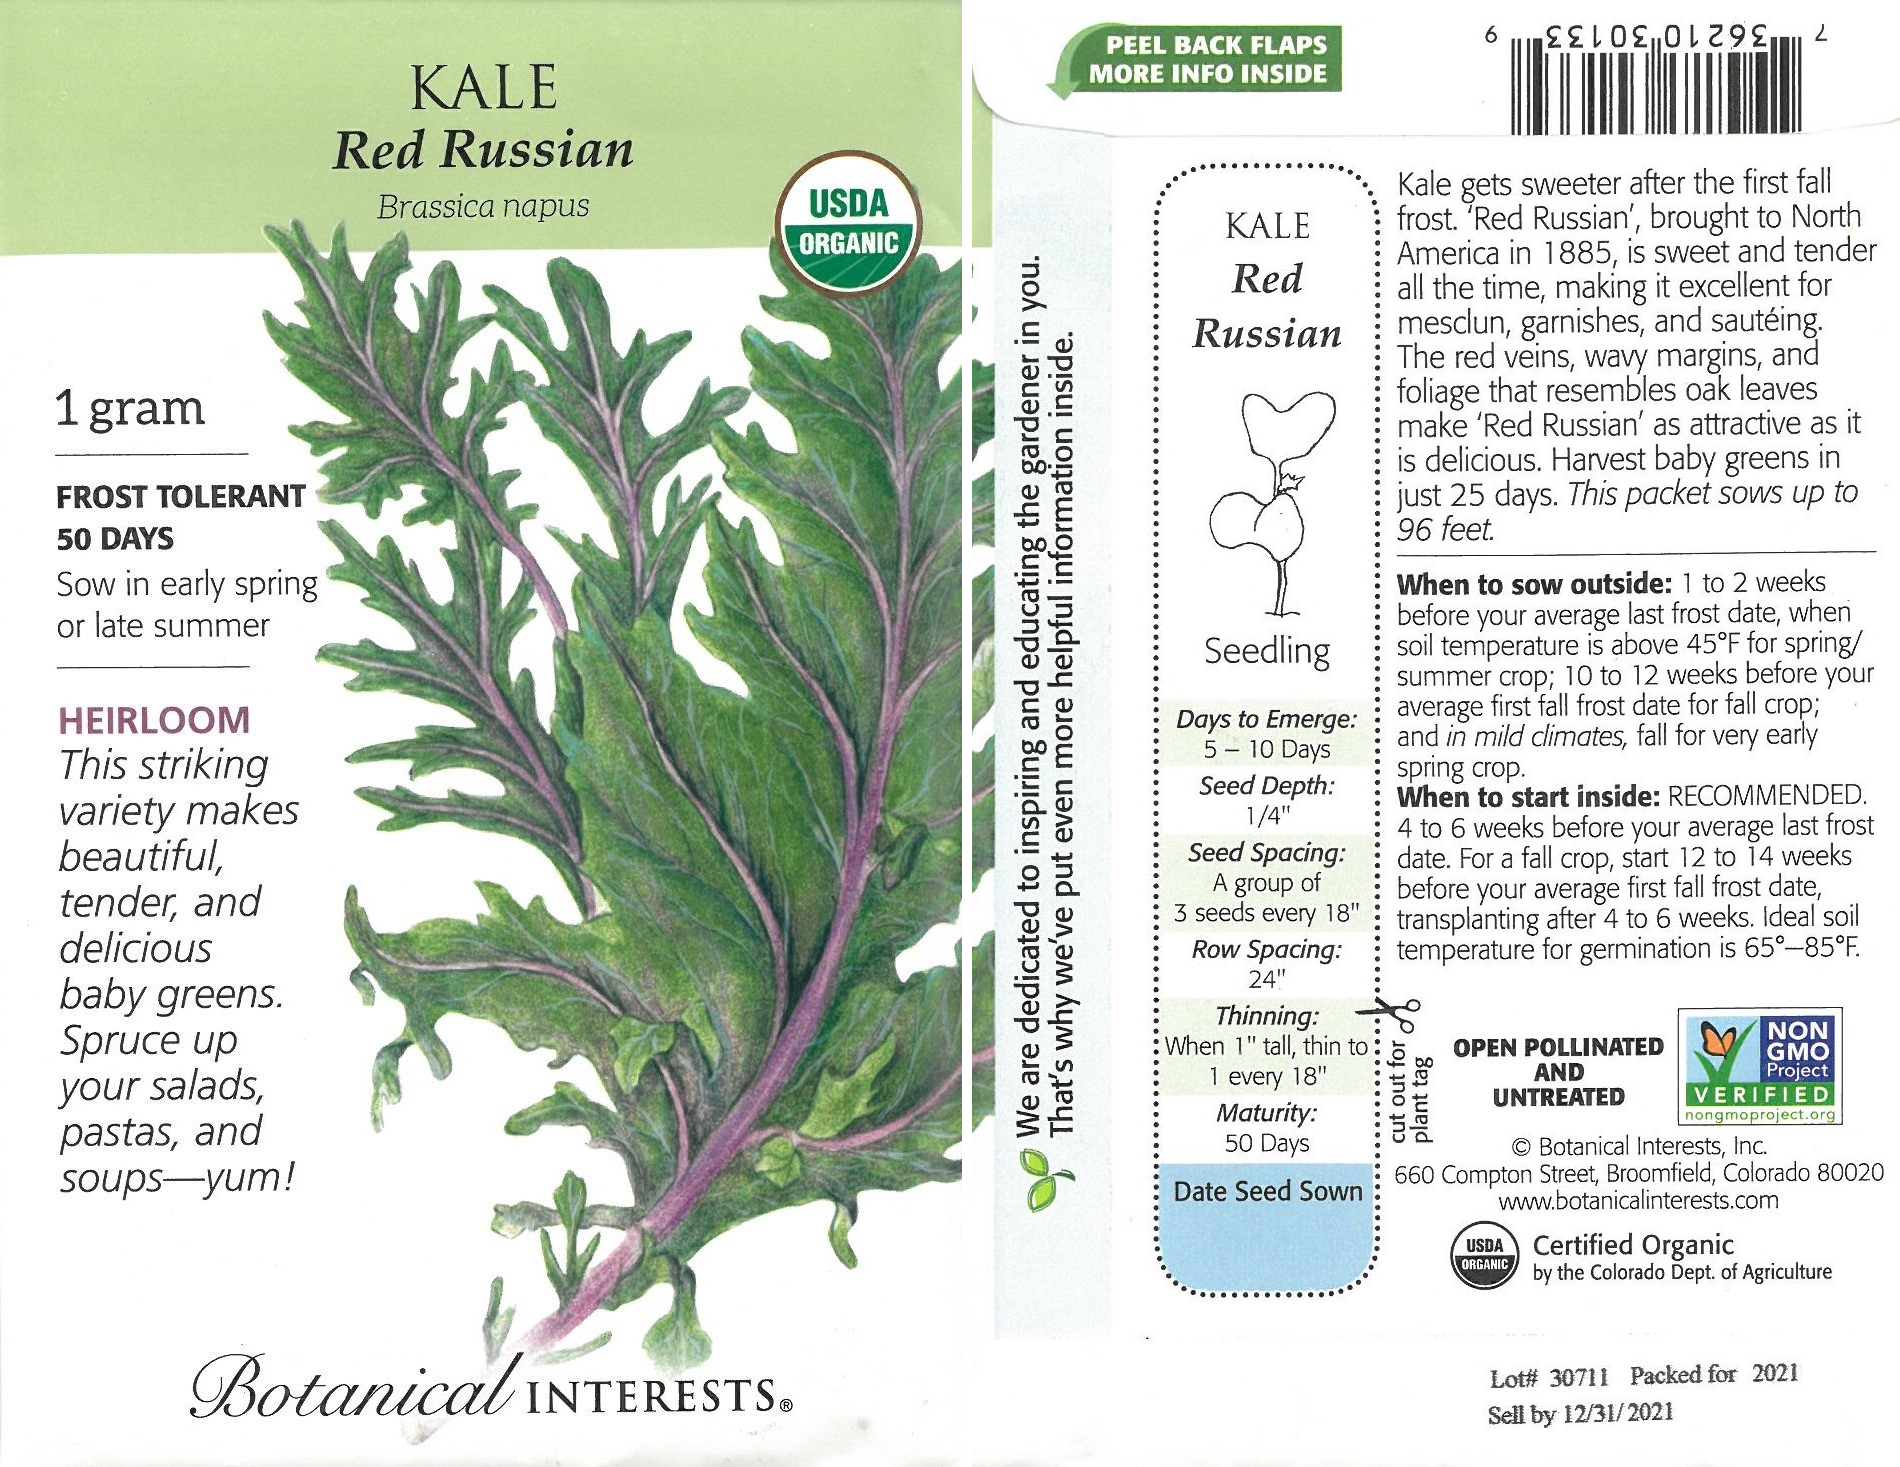
Anatomy of a Seed Packet
Seed packets have nearly all the information you need about the seeds they contain. Regardless of which company produces them, all seed packs will tell you the following:
- Plant & Variety
- If the seeds are Organic or Heirloom
- Growing season
- How deep to plant the seeds
- How far apart to plant each plant
- How far apart to space rows
- How many days from sowing until the plant will sprout
- How many days for the plant to mature
- When to start the seeds
- How to start the seeds
Some companies, like Botanical Interests, will give information on how to start seeds both indoors and outdoors while others will only have the preferred method for starting that particular plant.
Starting Seeds
There are two main methods to starting seeds - outdoors and indoors.
Outdoor Sowing
Starting your seeds outdoors leads to a stronger plant overall. You also don’t have to worry about potential transplant shock as your seeds will be in the same location from when they are sown to the end of the plant’s life cycle. Sowing directly outdoors allows you to plant varieties, like carrots, that don’t transplant well.
Choose Your Location - Start by selecting an area that receives the proper amount of light your seeds will need to flourish, then decide whether you want to grow your seeds in a garden bed, raised bed or container.
- Garden Beds – Starting seeds in a garden bed requires the most prep work. Remove weeds and existing plants that will compete with your seeds for water and nutrients. Ahead of planting, test your soil to discover any issues (such as incorrect pH) then till the soil, remove large pieces of debris and amend the soil with Lobster Compost.
- Raised Beds – When building a new raised bed, fill with Coast of Maine Raised Bed Mix. Top soil is too heavy and retains too much moisture for use in raised beds and containers. When refreshing an existing raised bed, add more Raised Bed Soil or Lobster Compost as needed.
- Containers – Select containers large enough for the plants you will be growing. For example, a single tomato plant should be planted in a 5 gallon size container. Fill your containers with either Coast of Maine Potting Soil or Coast of Maine Raised Bed Mix.
When to Start - Check your seed pack to see when your plants should be sown outdoors. Cool season or frost tolerant plants will be sown a few weeks before the estimated last frost date for your area. Warm season or frost sensitive plants are sown a few weeks after the estimated last from date for your area.
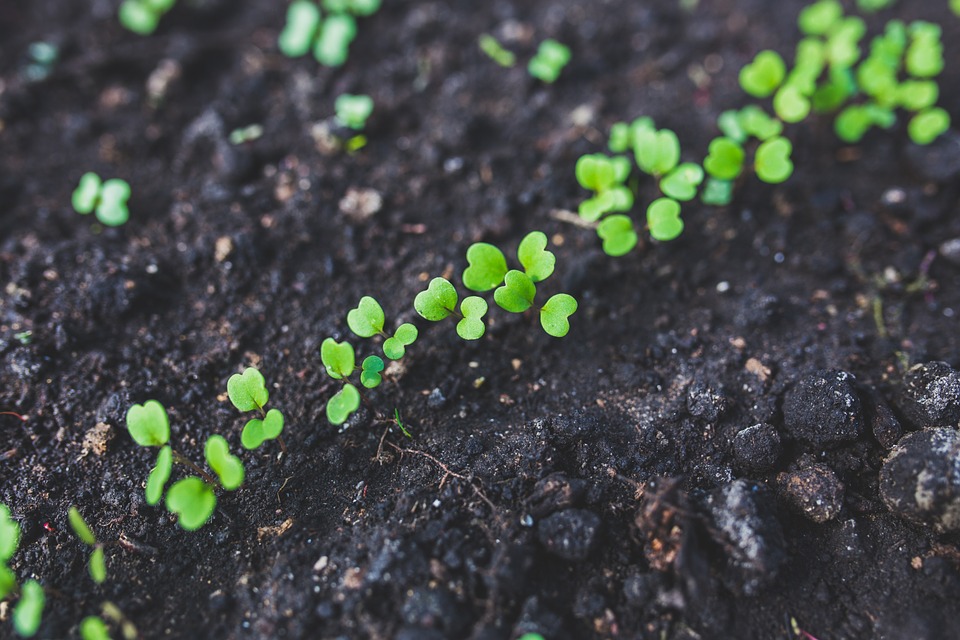
Sowing -Follow your seeds pack’s instructions for seed depth and plant spacing. Sowing your seeds in groups of 3 and then thinning out the weaker 2 seedlings after a certain period of time (listed on your seed pack) will ensure you’re growing the strongest plants possible.
Seedlings are especially delicate and can be easily crushed by heavy downpours or culled by frosts. Investing in row covers can help protect seeds and are especially beneficial if the weather in your area is fickle.
Indoor Sowing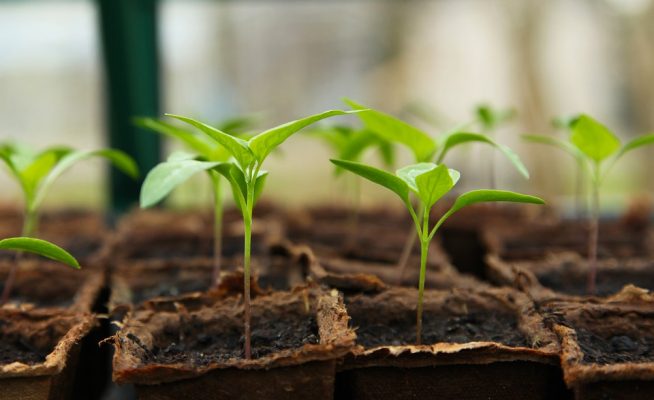

Starting seeds indoors gives your plants a head start on the growing season and allows for more control over the environment and protection from heavy rain and late season cold spells.
Choose Your Location – Indoor seeds need at least 6 hours of bright, indirect light. If you don’t have an area that receives enough light, you can use a plant light to simulate natural light.
Choose Your Soil - Use a starting soil or mix such as Espoma Seed Start Mix. It’s lightweight, well draining and allows for easy root development. Do not use top soil, it retains far too much moisture which can drown your seeds. Espoma Seed Start Mix is free from fertilizers as seedlings don’t need to be fertilized until they’ve started growing their “true leaves.”
Choose Your Containers - Grow trays are best when starting a large quantity of seeds (cardboard egg cartons work great). Smaller groups of seeds can be started directly in containers. Peat pots are biodegradable containers and can be planted directly in the ground. Other options include old grow pots, small paper cups or even DIY methods like making pots out of old newspapers.
When to Plant - Check your seed packet for the best time to start your seeds. Starting too early may mean the seeds are ready to be transplanted outdoors when it’s still too cold for them to survive.
Transplanting Seedlings

Your seed packet will also tell you when it’s time to transplant your seeds outside. Before you plant your seedlings, acclimate them to their new environment through a process called “hardening off.” This is an easy process of setting your seeds outdoors for limited, but increasing, periods of time. Doing this allows your seedlings to slowly adjust to the different temperatures and humidity, thus preventing shock.
If you started your seeds in peat, cardboard or paper pots dig a hole large enough to fit your pots and plant them. If you started your plants in plastic or other non-decomposable containers, gently remove your seedlings from the container and dig a hole large enough to hold the roots. Place your plant into the hole and backfill the soil around those roots.
Once you’ve transplanted your seedlings, install any supports the plants may need like tomato cages, stakes or trellises so you don’t have to worry about it later.
Watering
Keep your soil evenly moist but not soaking wet. Use a spray bottle and spray the soil (not the seeds and seedlings themselves as this can cause fungal issues) or a watering can. Aim for a gentle trickle of water instead of a flood, just enough to dampen the soil.
Fertilizing
Seeds don’t need to be fertilized at first as they contain nearly all the nutrients they will need to germinate and sprout. However, once your seedlings begin to grow leaves, they can greatly benefit from being fertilized. In the early stages of fertilizing, dilute your fertilizer so you don’t over fertilize. Use a basic liquid fertilizer, like Bonide Liquid Houseplant Fertilizer, diluted to ¼ strength. As your seeds grow, you can slowly increase the strength of your fertilizer to full strength. Read and follow the instructions on the fertilizer’s label.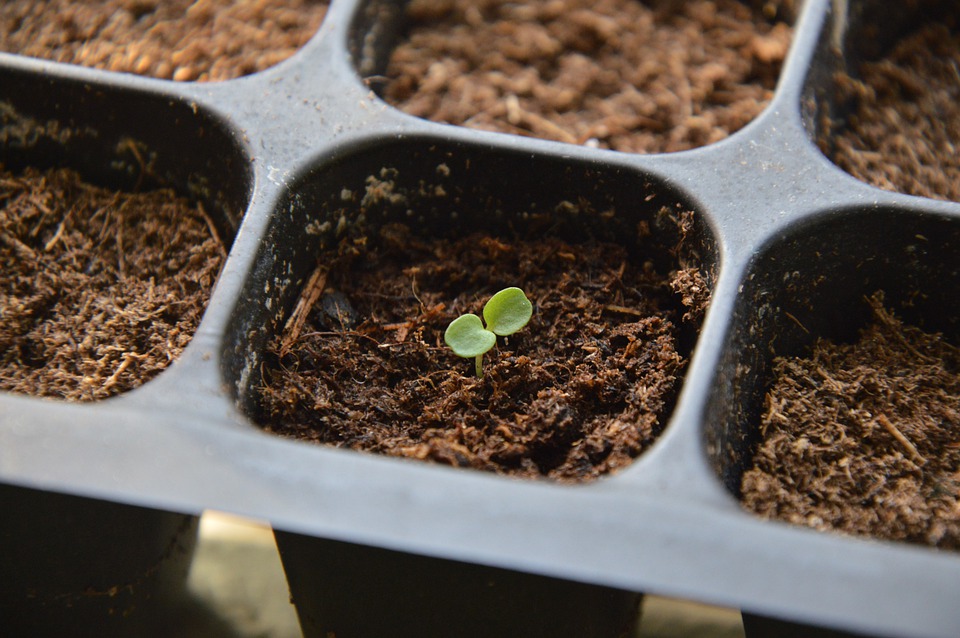
Additional Tips
- When starting seeds for the first time, start small. While there are a lot of seed options out there, trying to grow too many at once may be overwhelming. Start with two or three packs of seeds while you’re still learning the basics.
- If you’re growing fruits and veggies from seed, pick what you know you’ll eat.
- If you’re growing multiple plant varieties, plant labels can help you keep track of what is what. You can buy plant labels at Ken Matthews Garden Center year round or make your own with DIY methods.
- Some seeds have special steps needed in order to germinate. Wheat grass seeds, for example, need to be soaked in water overnight in order to grow. Your seed packet will list any special steps required.
- Seeds do have a shelf life. Most seeds will be fine for a year or two, but the germination rate begins to decline after a few years. The older a pack of seeds, the lower the germination rate. Most seed companies have the year the seeds were packaged printed on the pack so you always know how old your seeds are.